You’ve just taken the buck of a lifetime. Heart’s still pounding, hands shaking with adrenaline. But here’s the thing – that magnificent moment in the woods means absolutely nothing if you butcher the trophy preparation. I’ve seen hunters ruin spectacular trophies with amateur hour mistakes that could’ve been avoided with twenty minutes of proper knowledge.
Given the main focus of this blog on practical hunting wisdom, this article will answer the question I get asked constantly: “How do I preserve this trophy without screwing it up?” And trust me, there are more ways to mess this up than you’d think.
Most hunters approach trophy preparation like they’re following a recipe from their grandmother’s cookbook – outdated methods, questionable shortcuts, and zero understanding of what they’re actually trying to achieve. The result? Discolored antlers, weakened skulls, and CIC scores that make you want to hide the trophy in your basement.
But it doesn’t have to be that way. A properly prepared Euro mount isn’t just a wall decoration – it’s a testament to the hunt, the animal, and your commitment to doing things right.
💡 The difference between a professional-looking trophy and garage sale junk often comes down to understanding a few critical details that most hunters completely ignore.
Let’s walk through this step by step, and I’ll show you where most people go wrong and how to avoid those mistakes.
Step 1: The Skinning Game – First Impressions Matter
Strip everything. And I mean everything. Skin, eyes, muscle tissue, tongue – it all needs to go. Use a sharp knife or scalpel, not that dull hunting knife you’ve been meaning to sharpen for three seasons.
Here’s where hunters get lazy: they leave chunks of meat thinking “it’ll boil off anyway.” Wrong. That leftover tissue becomes a nightmare to remove later, and it stains the bone in ways that no amount of whitening will fix.
Pay special attention to the jaw area and around the eye sockets. These spots love to hide tissue that’ll haunt you later.
Step 2: Brain Removal – The Messy but Critical Step
The foramen magnum – that big opening at the back of the skull – is your access point. Grab a wire, thin rod, or long screwdriver and start breaking up that brain tissue. It’s not pretty, but it’s necessary.
Flush with warm water until the water runs completely clear. Not “mostly clear” – completely clear. Half-assed brain removal leads to bacteria growth and eventual skull deterioration.
Most hunters rush this step because it’s gross. Don’t be most hunters.
Step 3: The Boiling Process – Where Good Trophies Go to Die
Here’s where I see the most spectacular failures. Hunters think “hotter and longer equals cleaner.” Catastrophically wrong.
Simmer for 30-45 minutes maximum. Not a rolling boil – a gentle simmer. Overboiling weakens the bone structure and can cause the skull to literally fall apart in your hands.
Keep those antlers out of the water. Submerging antlers causes discoloration that screams “amateur” from across the room.
Add a small amount of dish soap or baking soda to help break down fat, but don’t turn it into a bubble bath.
After boiling, scrub off remaining flesh with pliers and a stiff brush. This is tedious work, but the difference between “good enough” and “perfect” shows up here.
Step 4: Whitening – The Make-or-Break Moment
Forget everything your hunting buddies told you about laundry detergent and bleach. Those methods are relics from the dark ages of trophy preparation, and they’ll damage your bone while leaving ugly marks on the antlers.
30% hydrogen peroxide is your holy grail. It’s safe, effective, and won’t sabotage months of careful work.
Apply with a brush or soak the skull (keeping antlers dry), place in direct sunlight for a few hours, then rinse thoroughly. The transformation is dramatic – dingy yellow bone becomes museum-quality white.
I’ve seen hunters use household bleach and wonder why their “trophy” looks like it was dipped in chalk. Don’t be that guy.
Step 5: To Cut or Not to Cut – The CIC Dilemma
Many hunters saw off the back of the skull for easier mounting. Here’s what they don’t tell you: this decision can cost you CIC points and potentially drop you from medal territory.
If the skull isn’t cut, they subtract 90 grams during official CIC scoring. Cut too much? You might remove more than 90 grams, which actually hurts your score.
If you’re serious about CIC scoring, don’t cut at all, or cut minimally – just enough for a clean mount. I know hunters who lost medal status because they got saw-happy.
Your call, but make it an informed one.
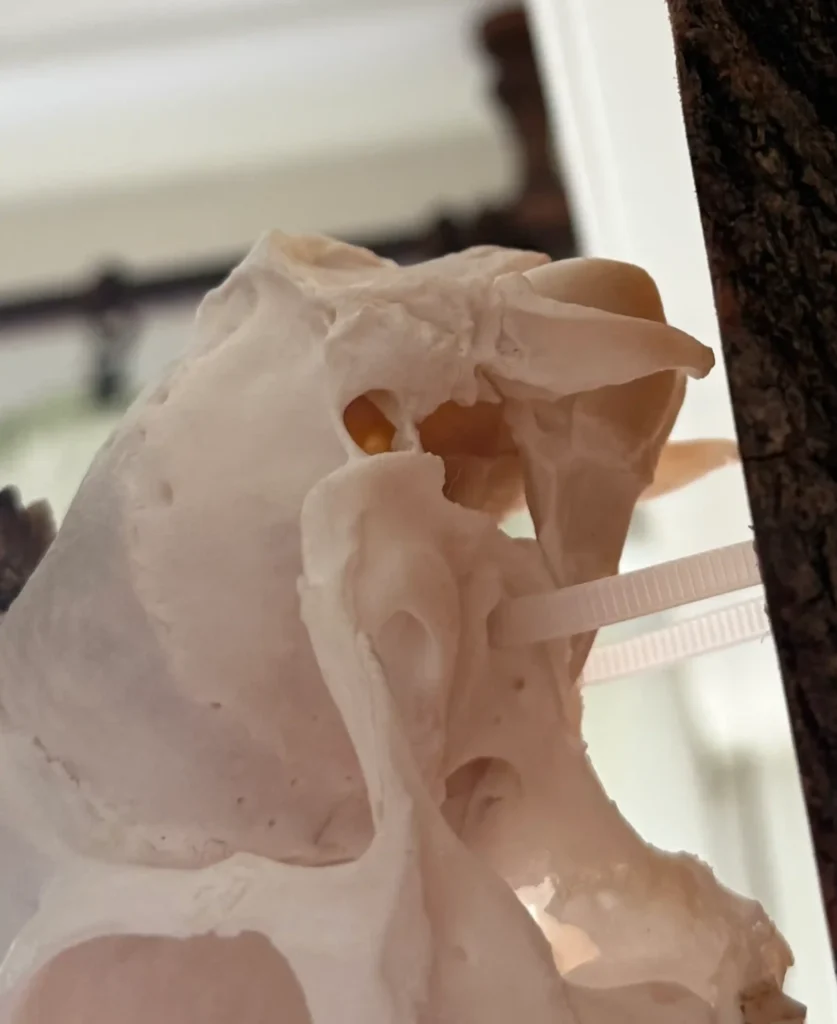
Step 6: Mounting Without Destroying Everything
Never drill holes in the skull. I repeat: NEVER DRILL HOLES IN THE SKULL. Use the natural openings that nature provided.
Drill two horizontal holes in your wooden plaque, about 3cm apart, positioned where the deer’s eyes would sit. Thread wire or zip ties through these holes and pass them through the natural skull openings behind the eye sockets.
This method keeps the skull intact while providing rock-solid mounting. Plus, you can make adjustments if needed.
Step 7: CIC Reality Check
Here’s what separates wishful thinking from medal-worthy trophies:
455g – Bronze medal 510g – Silver medal 540g – Gold medal
These weights are for cleaned, dried skulls (with the 90g deduction if uncut). The skull must dry for 90 days before official measurement – no shortcuts here.
I’ve watched hunters get excited about “heavy” skulls that shrunk significantly during the drying process. Patience pays off.
Step 8: The Finishing Touches
Clean the antlers with a damp cloth. If you want that polished look, a light application of linseed oil works wonders.
Make sure everything is properly aligned and stable. A crooked mount ruins the entire presentation, no matter how perfect your preparation was.
The Real Talk About Trophy Preparation
Most hunters treat trophy preparation like an afterthought. They spend thousands on gear, travel hundreds of miles, invest days in the hunt, then risk ruining everything with fifteen minutes of careless work.
A properly executed Euro mount captures both the beauty of the animal and the memory of the hunt. It’s a conversation piece that tells a story – assuming you don’t botch the execution.
The techniques I’ve outlined here aren’t complicated, but they require attention to detail and patience. Skip steps or rush the process, and you’ll have a garage sale decoration instead of a trophy.
For those wondering about how to properly photograph your finished trophy, that’s an art form unto itself.
Your Trophy, Your Legacy
Every trophy mount is a reflection of the hunter who created it. Done right, it’s a source of pride for decades. Done wrong, it’s a constant reminder of corners cut and opportunities wasted.
The choice is yours. Invest the time to do it properly, or explain to everyone who sees it why it looks amateur.
Your trophy deserves better than shortcuts.
Good hunting.